DIY Halloween Tree (CHEAP!)
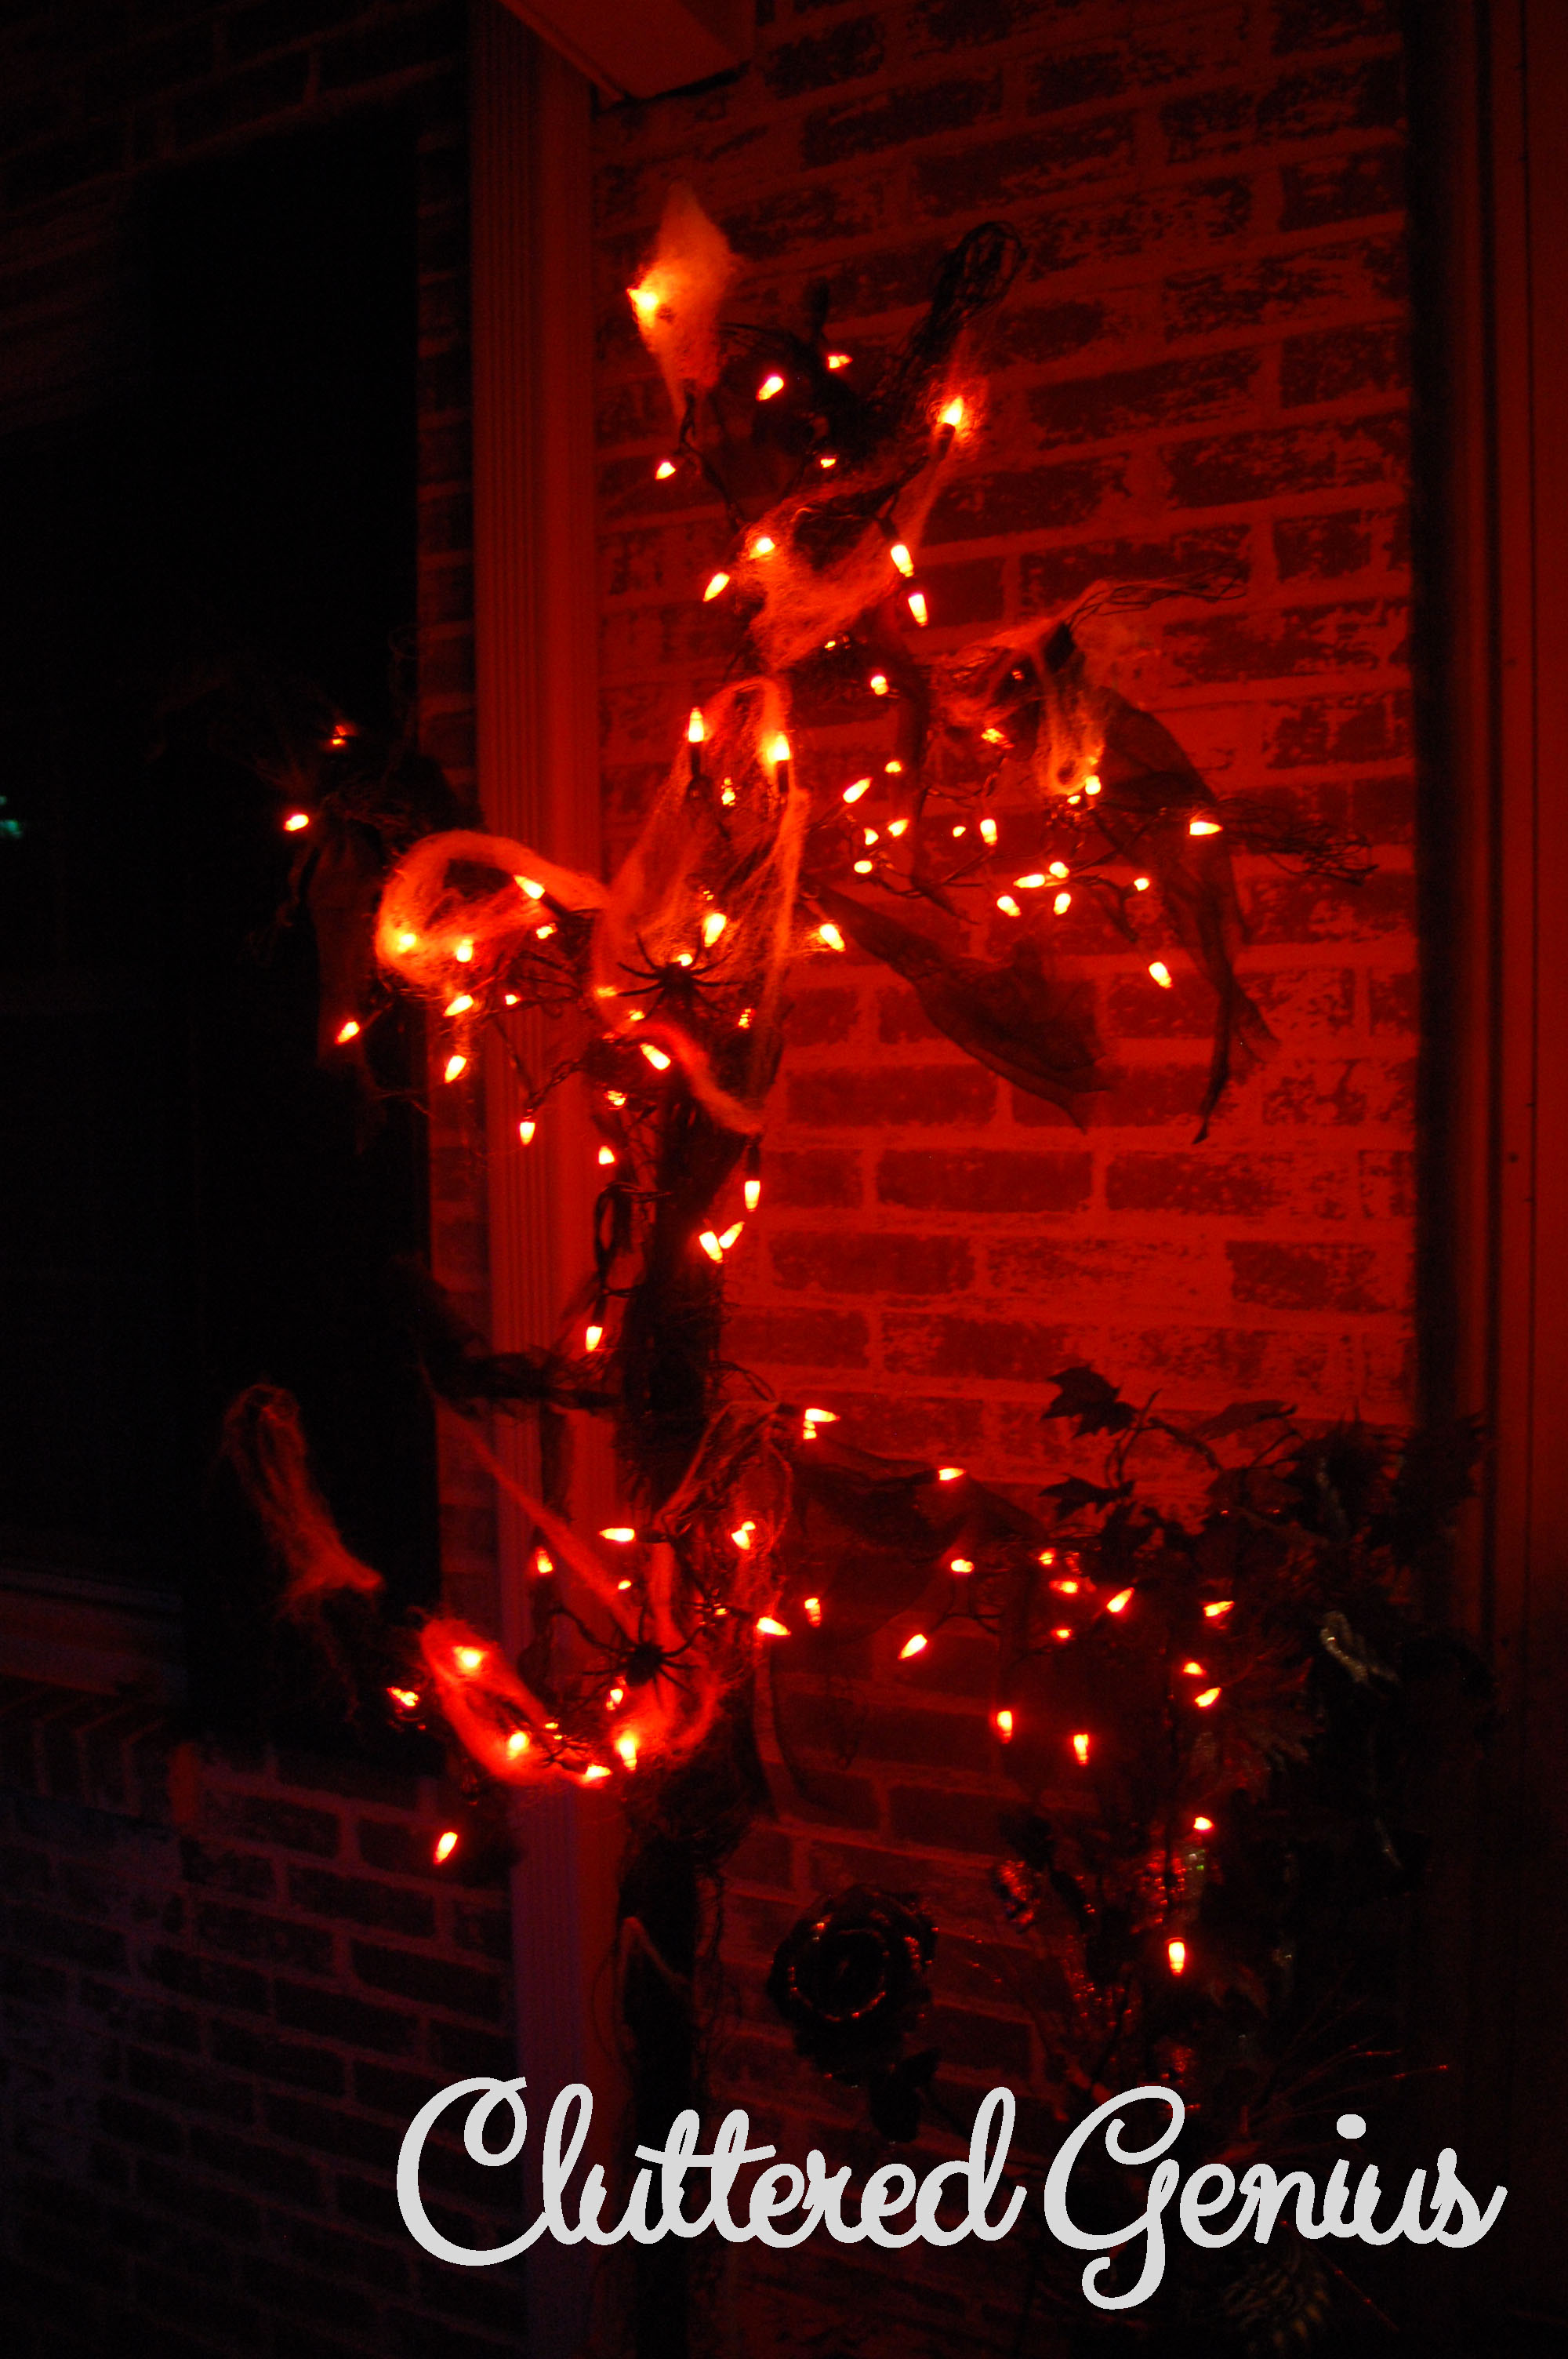
I really like Halloween. Let’s just put that out there. I like Christmas, too, but something about Halloween is just super fun. I think it’s because it heralds in the holiday season. The air is crisp, the kids are excited, and there’s candy. Lots of candy.
Dressing up is also a favorite part of the holiday. Ever since I was little, getting in to character is something I search for reasons to do. Halloween just gives me complete license.
When the Halloween decorations start coming in to the stores, I seek out the things I want to buy once the season is over or that I want to try to make. I’ve always wanted one of the tall, black lighted trees that I’ve seen at places like Lowe’s. Last year, I told Aaron we should make one. We decided that would be easy enough — but we never got around to it. This year, we did.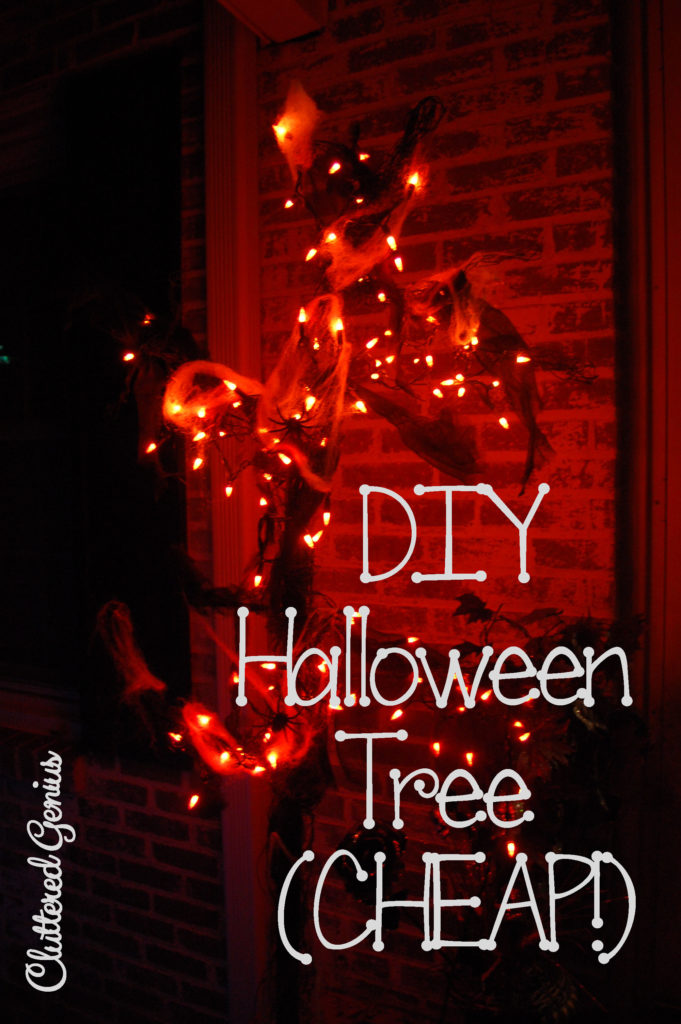
You may remember that I posted a how to have a Spooky Kooky Halloween when I teamed up with the Boo Crew. I promised you I’d show you how we did this. It took us a while to finish because – well – we’re busy. But if we could have done this all in one day, it wouldn’t have taken us more than an hour or so (depending on the drying time for the paint).
It was totally easy, and it cost us less than $20 for our finished product. That’s almost $60 cheaper than what the stores were going to charge us for one this big. So, we decided to make our own! A DIY Halloween Tree for CHEAP!
We started with some chicken wire, spray paint, and orange lights.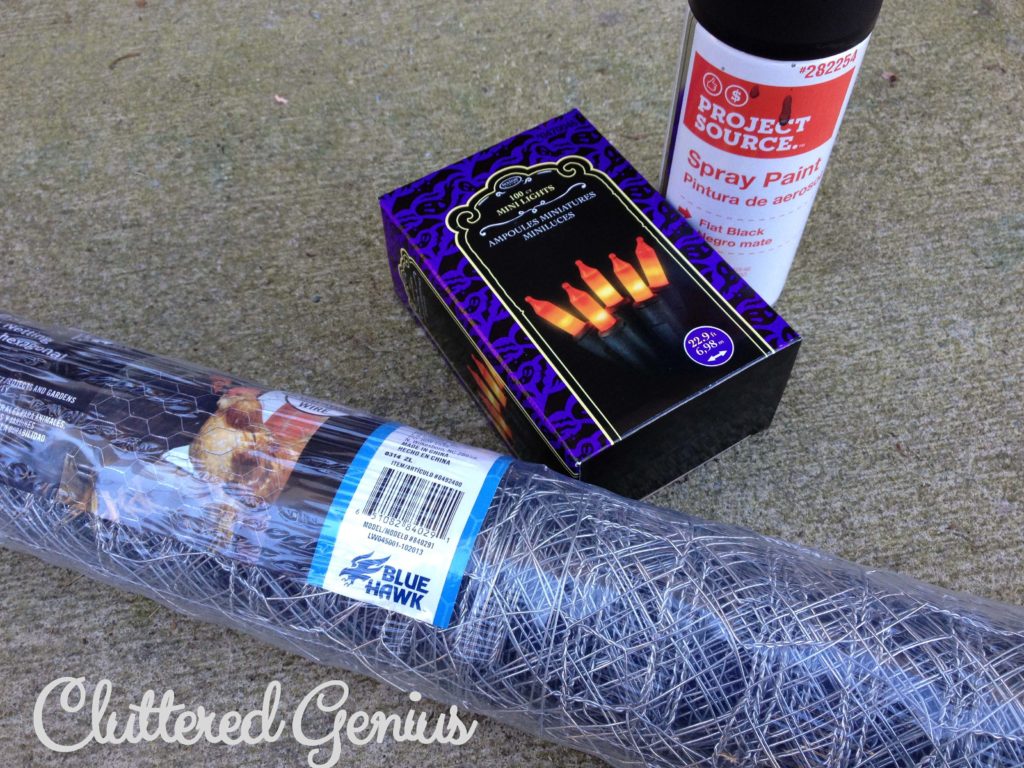
Aaron molded the chicken wire around a large wooden dowel. Once he had the branches as he liked them (we were trying to go for multiple branches that would end up looking sort of droopy), he spray-painted the entire tree and dowel black. He did need to touch it up after one can was finished.
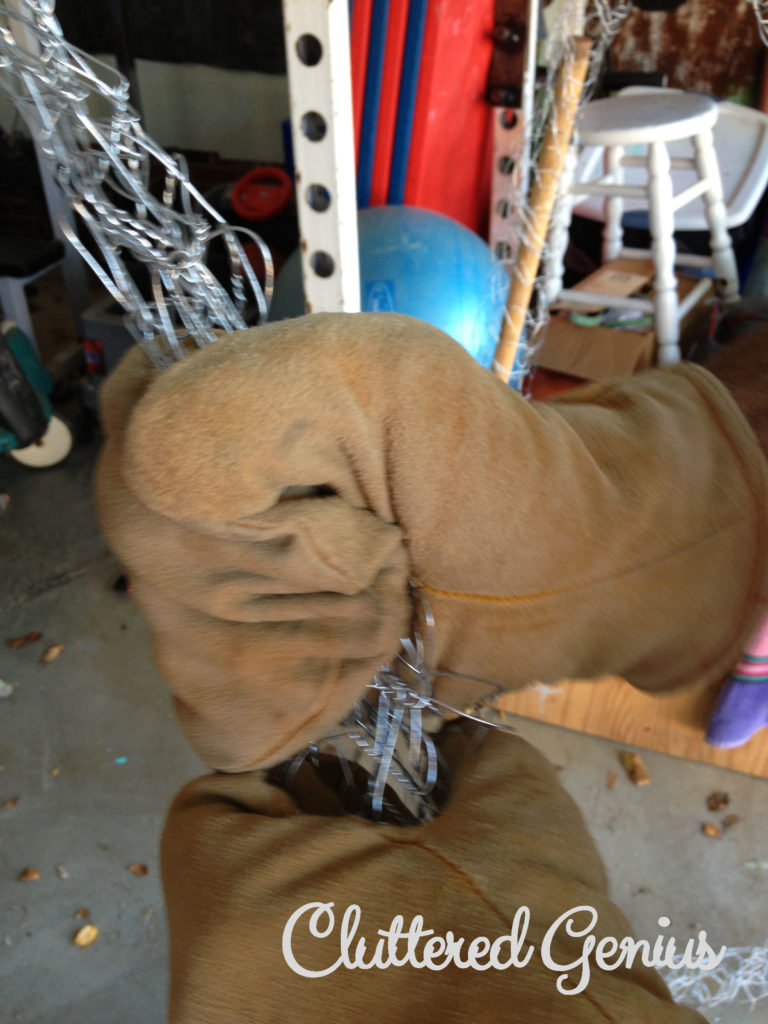
Next, we needed something to hold it up. In a pinch, we used a brick (with 3 holes in it) and a 35 lb weight. Handy to have those lying around. (I covered the weight with some black material.)
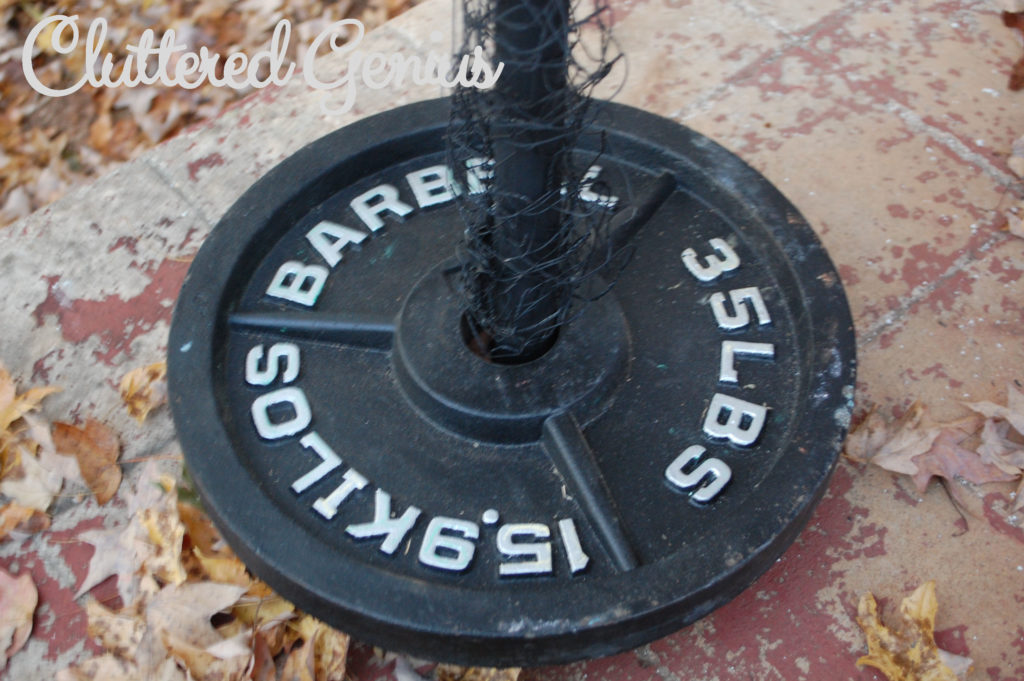
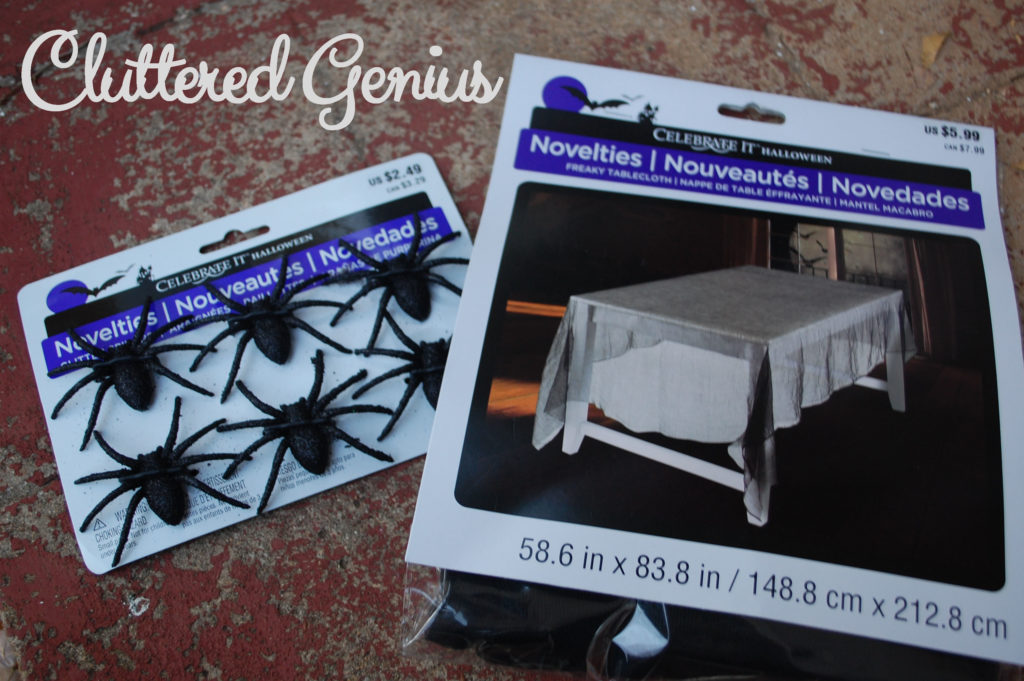
Then it was time to add the lights and other decorations. I went to Michael’s and found this spooky table cloth that I thought would be perfect when cut into strips. It would help give the tree a mossy look. I also found some black spiders (since the Animal felt like our tree needed spiders all over it).
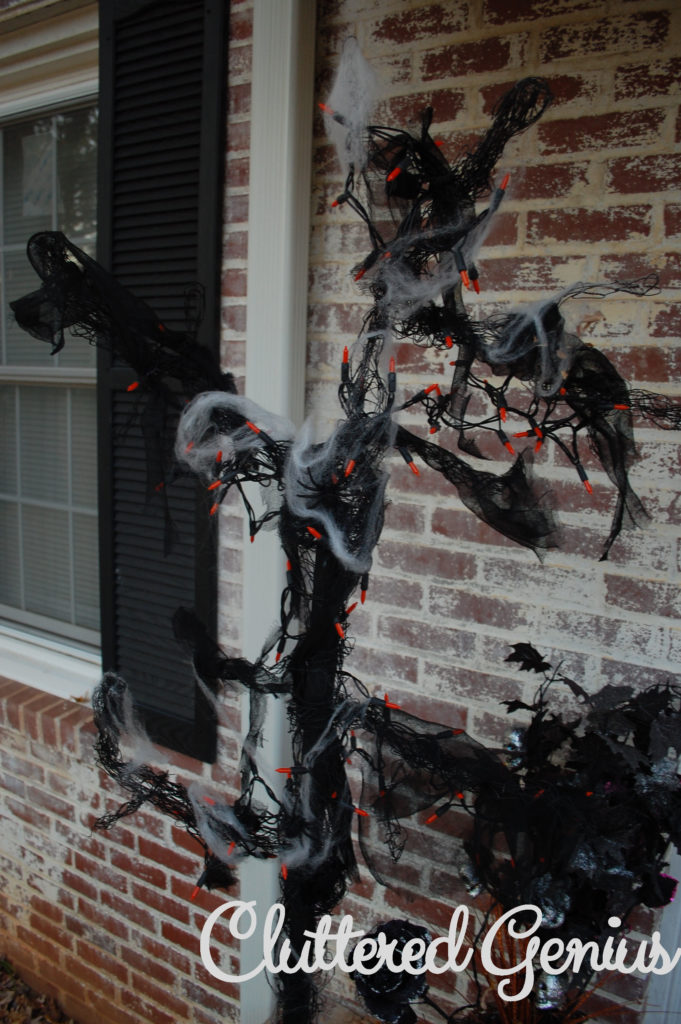
Once I added these, I decided to add in some of the spider webbing that fell off the bricks on our porch (I still haven’t quite mastered this material).
The sun went down, and we plugged it in. We are super proud of ourselves, and this picture doesn’t do it justice. I’m pumped that in the long run, it cost us less than $20, we are proud of ourselves, and we can use it again and again as the years go by.
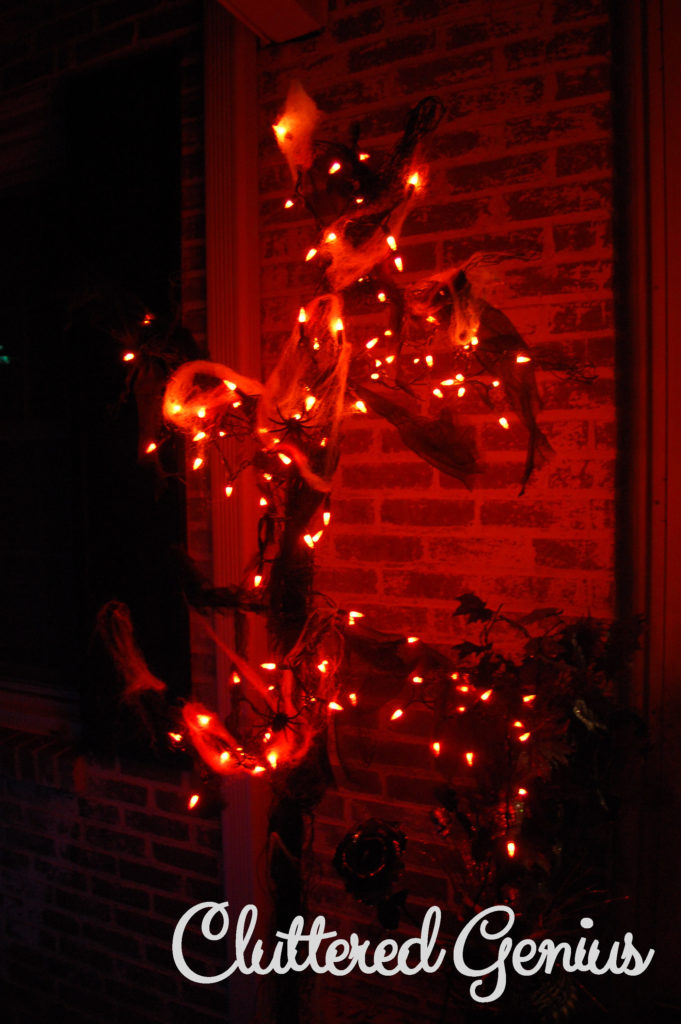
What do you think? Could you do this yourself?
Tags: craft, diy, easy, halloween
Very cool. I need to try this next year. It won’t come out as good as yours I’m sure but hopefully no one will notice!
Unique and impressive!!