DIY Decorative Ornament

The holidays get me in a crafty mood, and I was doing the typical Pinterest crawl. I came across an idea to make a large ornament that would hang in the house or on the front door, and I decided: Hey, I can do that myself!
Then, I thought it would be nice to share with my readers. Here’s how I did it.
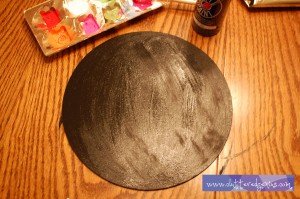
- I got a large wooden circle from the craft store. I chose black as my base color and painted it.
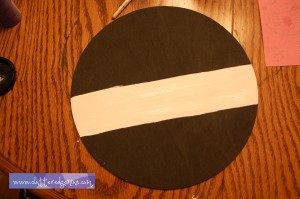
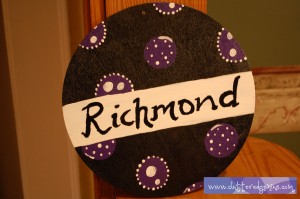
- Then, I painted a large stripe across the middle. This will be where I’ll paint our name. I did struggle with this portion a bit because I was doing it completely free-hand. I think it turned out great.
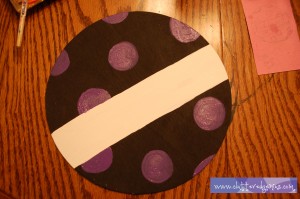
- I painted circles all over in the color I chose. I like black with purple as you can see.
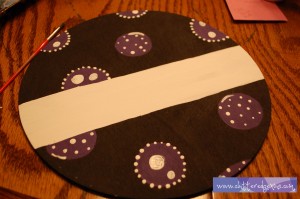
- Then, I decorated each of the circles. I could have done stripes or something similar, but I just improvised:
- I painted our name across that white stripe. Again, this is completely free-handed, and yes, I had to go back with some white paint. But, I like the way it looks both rough and stylized.
- Aaron took it outside and painted some Clear Coat on it for me (not recommended for gals who are pregnant or “contemplating” pregnancy.
- Once that dried, he drilled a small hole in the top.
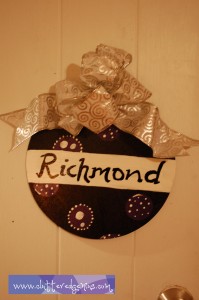
- In the meantime, I made a bow using the ribbon I had chosen. I really like silver.
- Then, I used the wire from the ribbon and attached it to the large ornament. I used some of the wire to make a hanger for the nail, too.
- And here it is on our front door!
Thinking you’ll make one too? Will it be for you or as a gift? Happy crafting!
Tags: craft, diy, holiday, ornament